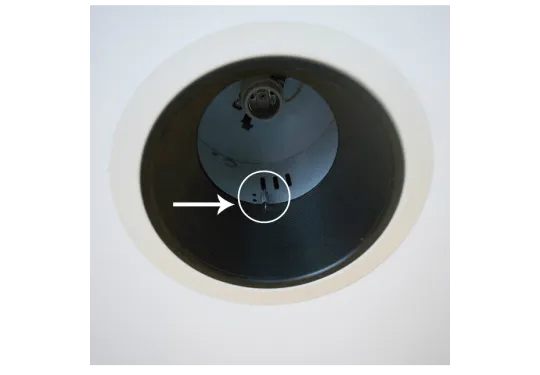
Before
Gather Neccessary Tools and Materials

DIY Guide: Converting Canned Recessed Lights to LED
Materials Needed:
LED retrofit kit compatible with your existing recessed lights
Screwdriver
Ladder (if necessary)
Wire cutters (if necessary)
Step 1: Safety First
Before you begin any electrical work, always ensure your safety. Turn off the power to the recessed lights at the breaker box to avoid any risk of electric shock. Use a voltage tester to double-check that the power is indeed off before proceeding.
Step 2: Remove the Existing Bulb
Once you've confirmed the power is off, use a screwdriver to remove the existing bulb from the recessed light fixture. Be careful not to touch the bulb with your bare hands, as oils from your skin can reduce its lifespan.
Step 3: Remove the Trim
Depending on the type of recessed light fixture you have, you may need to remove the trim to access the housing. In most cases, the trim will either twist off or be held in place by springs.
Step 4: Install the LED Retrofit Kit
Take your LED retrofit kit and follow the manufacturer's instructions for installation. This typically involves screwing the LED module into the existing socket in the recessed light fixture. Make sure it's securely in place.
Step 5: Attach the Trim (if necessary)
If your LED retrofit kit includes a new trim piece, attach it to the fixture according to the manufacturer's instructions. This will give your newly converted LED recessed light a polished look.
Step 6: Restore Power and Test
Once you've installed the LED retrofit kit and trim (if applicable), turn the power back on at the breaker box. Test the light to ensure it's working properly. If it doesn't turn on, double-check your connections and make sure everything is securely in place.
Step 7: Repeat for Additional Lights If you have multiple recessed lights you want to convert to LED, repeat the process for each one individually. Take your time to ensure each retrofit kit is installed correctly and safely.
Step 8: Enjoy Your Energy-Efficient Lighting With your canned recessed lights now converted to LED, you can enjoy the benefits of energy-efficient lighting. LEDs last much longer than traditional bulbs and consume less energy, saving you money on your electricity bills in the long run.

After-LED Install
Conclusion:
Converting your canned recessed lights to LED is a straightforward DIY project that can have a big impact on your home's energy efficiency. By following this step-by-step guide and taking proper safety precautions, you can upgrade your lighting fixtures in no time. Say goodbye to inefficient incandescent bulbs and hello to the bright, long-lasting glow of LED lighting.